Are you using a Logitech keyboard and wondering how to take a screenshot? Look no further! In this article, we will guide you through the process of capturing screenshots using a Logitech keyboard. Whether you’re using a Windows or Mac computer, we’ve got you covered. So, let’s dive in and learn how to capture those important moments on your screen effortlessly.
Understanding Logitech Keyboards
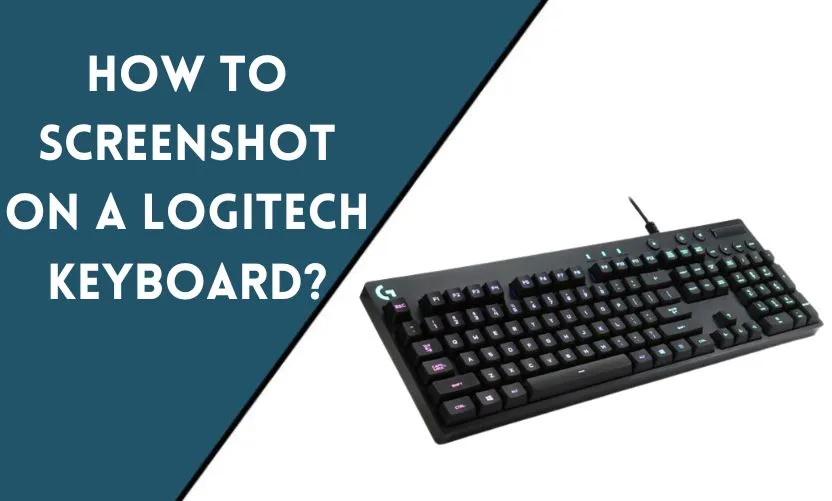
Logitech is a well-known brand when it comes to computer peripherals, including keyboards. Their keyboards offer a wide range of features and functionalities, making them popular among professionals and gamers alike. Logitech keyboards typically come with standard key layouts, including function keys and multimedia keys. These keyboards also have dedicated keys for capturing screenshots, which we will explore in the following sections.
Taking Screenshots on Windows
Method 1: Print Screen Button
The Print Screen button, often labeled as “PrtSc” or “PrtScn” on Logitech keyboards, is a simple and straightforward way to capture the entire screen. Pressing the Print Screen button copies the screenshot to the clipboard, and you can paste it into an image editing program, such as Paint or Photoshop, to save it.
Method 2: Windows Key + Print Screen Button
Logitech keyboards often feature a Windows key, which is usually located between the Ctrl and Alt keys. Combining the Windows key with the Print Screen button allows you to capture the entire screen and automatically save it in the “Screenshots” folder within your “Pictures” directory.
Method 3: Snipping Tool
Windows also provides a built-in tool called the Snipping Tool, which offers more flexibility when capturing screenshots. You can launch the Snipping Tool by searching for it in the Start menu. Once opened, you can choose various snipping modes, including full-screen, rectangular, window, or free-form snips.
Taking Screenshots on Mac
Method 1: Command + Shift + 3
On a Logitech keyboard connected to a Mac, you can capture the entire screen by pressing the Command, Shift, and 3 keys simultaneously. The screenshot will be saved as a file on your desktop.
Method 2: Command + Shift + 4
To capture a specific area of the screen, you can use the Command, Shift, and 4 keys on your Logitech keyboard. After pressing these keys, your cursor will turn into a crosshair. Click and drag to select the desired area, and the screenshot will be saved as a file on your desktop.
Method 3: Grab Application
If you prefer a more advanced screenshot tool on your Mac, you can use the Grab application. Open Grab from the Utilities folder, located within the Applications folder. Once opened, you can choose between capturing the entire screen, a specific window, or a selection. The captured screenshot can be saved as a file or copied to the clipboard.
Customizing Screenshot Settings
Both Windows and Mac operating systems offer various options to customize screenshot settings. You can explore these settings to choose different file formats, change the save location, enable or disable sound notifications, and more. Refer to the official documentation or system preferences for detailed instructions on customizing screenshot settings.
Saving and Editing Screenshots
After capturing a screenshot, it is essential to know how to save and edit it. In most cases, the captured screenshots are saved as image files, such as PNG, JPEG, or GIF. You can open these files with any image editing software, including the default ones like Paint or Preview, to crop, resize, annotate, or apply various effects to the screenshots.
Transferring Screenshots to Other Devices
If you want to transfer the captured screenshots from your computer to other devices, you can use various methods such as email, cloud storage services, messaging apps, or file-sharing platforms. Simply upload the screenshot file and share it with the desired recipients or devices.
Troubleshooting
Issue 1: Screenshots not Saving
If you encounter issues with screenshots not being saved, ensure that you have sufficient disk space on your computer. Additionally, check if the save location is set correctly in the screenshot settings. Restarting your computer or updating the keyboard drivers can also resolve any potential software conflicts.
Issue 2: Inaccurate or Partial Screenshots
Sometimes, screenshots may capture more or less than what you intended. To address this issue, double-check the keyboard shortcuts or the snipping tool’s selection area. Make sure you are capturing the correct portion of the screen or window.
Conclusion
Capturing screenshots using a Logitech keyboard is a convenient and efficient way to document important information, share content, or troubleshoot technical issues. With the methods outlined in this article, you can effortlessly capture screenshots on both Windows and Mac operating systems. Remember to explore the customization options and familiarize yourself with editing tools to enhance your screenshot capturing experience.
Frequently Asked Questions
Can I take screenshots using a Logitech keyboard on Linux?
Yes, Logitech keyboards can be used to capture screenshots on Linux. The methods may vary depending on the Linux distribution and desktop environment you are using.
Are there any additional software or drivers required to take screenshots?
No, additional software or drivers are not required to capture screenshots using a Logitech keyboard. The built-in functionality provided by the operating system is sufficient.
Can I capture screenshots of a specific window or region?
Yes, both Windows and Mac operating systems offer methods to capture screenshots of specific windows or regions. Refer to the respective sections in this article for detailed instructions.
How can I annotate or edit the screenshots after capturing?
After capturing a screenshot, you can use various image editing software, such as Paint, Photoshop, or Preview, to annotate, crop, resize, or apply other edits to the screenshot.
Is there a shortcut to directly copy the screenshot to the clipboard?
Yes, on Windows, pressing the Print Screen button copies the screenshot to the clipboard. On Mac, pressing Command + Control + Shift + 3 captures the entire screen and copies it to the clipboard.


